Mosaic Making: The Basics
Mosaics are made by setting small pieces of material, like tiles or even broken porcelain, together in place so that they form a design. You can use mosaic craft tiles to make something unique on just about any surface, and create a brilliant, simple design with minimal hassle.
Basic materials
Before you start, it’s get everything together that you need:
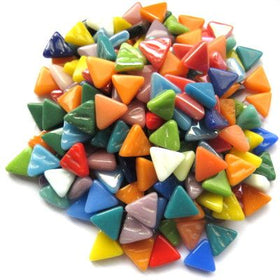
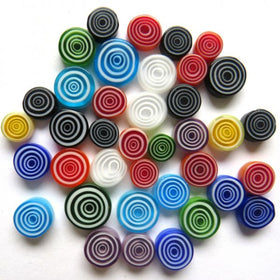
• Mosaic pieces come in a huge range of different materials, so you can have, for example, mosaic mirror tiles, either pre-cut or you can break up materials into small pieces to use yourself. You can use tiles, stone, marble, coloured glass, crockery and even things like beads, buttons, pebbles and shells.
• Glue to stick each piece of your mosaic in place before you grout it.
• Grouting to fill in the gaps between the tile pieces. You can buy this stuff in all shades and hues, but choose a contrast colour. This makes the tiles stand out and highlights the details of your design. Bear in mind that the colour of grouting gets lighter as it dries. You can add water-based coloured paint to create varying colours.
You also need to choose what you are going to decorate. It could be a flat picture, a coaster, a clock face, a lamp or a mirror.
Other basic tools you’ll need include:
• A spatula to apply the grout
• A sponge to wipe the mosaic surface clean and to polish your end result
• Tile cutters or nippers to cut the materials you are going to use as mosaic pieces
• Safety glasses when breaking up materials as tiles can send small shards flying into your eyes and may shatter.
All of the above are readily available when you order a mosaic kit for adults online.
Easy Steps to Follow
• Choose your base object on to which you will be sticking your mosaic
• Draw your design outline on the background – take your inspiration from anything you like.
• Decide on your mosaic pieces, whether they’re pre-cut, cut yourself or broken at random. If the latter, use a towel to protect the surface you are working on. Break pieces in a strong bag with a little hammer to keep all debris safely contained.
• Use the glue to stick all the pieces of your mosaic where you want them. If pieces are very small, dip tweezers in glue first. And you may want to lay out the mosaic before you stick it down.
• Grout after the glue has set – use a spatula then a sponge to wipe off any excess. Polish off after you’ve left your design to dry off overnight.
Everything You Need for the Perfect Mosaic from Hobby Island
At Hobby Island Mosaics we supply hobbyists, schools and classes, whether, you need tiles, tools, glue, grout, kits, bases or pigments, if we don’t have it, we soon will! We also pride ourselves on excellent customer service and a faultless returns service.
Product quality is also important to us, and orders are generally received within 24 hours. With a user-friendly website, we also have an incredibly extensive network of stock.